
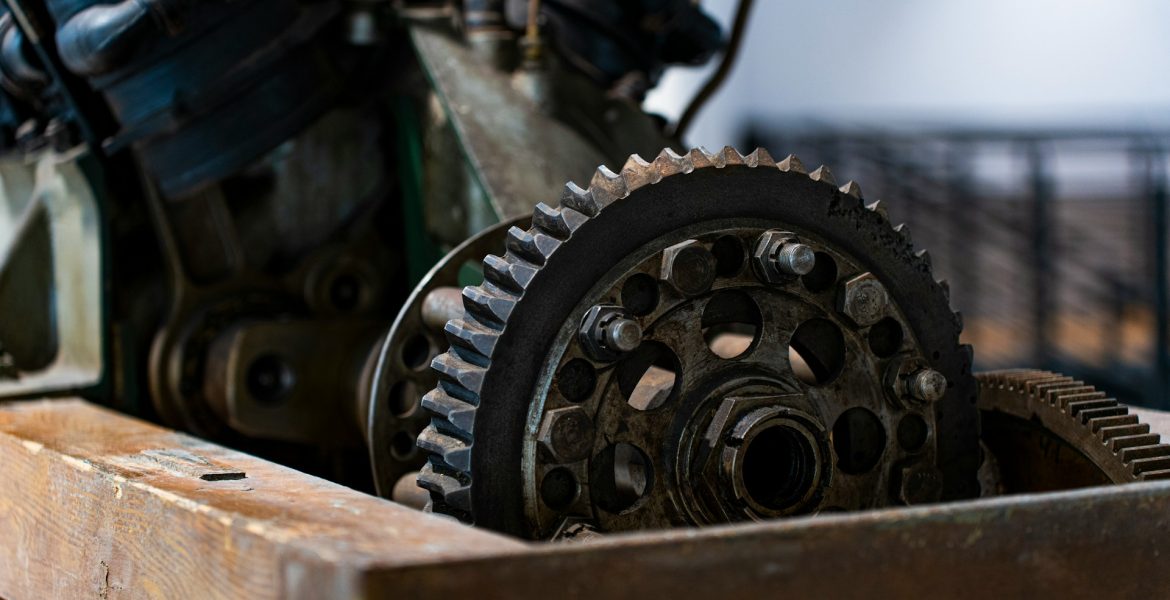
A final drive rebuild is the process of disassembling your travel motor and planetary gear assembly, inspecting every internal component, replacing worn parts, and putting it all back together to restore full function.
When the final drive starts leaking oil, making noise, or losing travel power but the core housing and gears are still intact, a rebuild saves you the cost of a complete replacement while bringing performance back to where it should be.
It is a practical option for operators with mechanical skill and the right tools, but it demands precision. Cut corners on a final drive rebuild and the unit fails again within weeks.
This guide walks through the key steps, common mistakes, and best practices that separate a rebuild that lasts from one that does not.
When a Rebuild Makes Sense
Not every final drive problem calls for a rebuild. Some situations demand a full replacement, and knowing the difference saves time and money.
A final drive rebuild makes sense when the gear oil is leaking but the gears themselves show no chipped or broken teeth. It makes sense when bearings have play but are not yet grinding. It makes sense when the face seal has failed but contamination has not had time to destroy the planetary internals.
A replacement is the better call when gear oil comes out looking like metallic paste, when gears are visibly damaged, when the hydraulic motor has lost internal pressure, or when the housing is cracked. In those situations, the damage goes beyond what new seals and bearings can fix.
The gear oil tells the story. Pull the drain plug and inspect the fluid before deciding. Clean oil with slight discoloration points toward a final drive rebuild. Oil loaded with metal particles points toward replacement. Understanding how excavator final drives are structured helps you evaluate the condition accurately.
Preparation Before You Start
A successful final drive rebuild begins before you touch a wrench. Preparation determines whether the job goes smoothly or turns into a frustrating exercise in guesswork.
Start by getting the service manual for your specific machine. Final drives vary between brands, models, and even serial number ranges. The manual gives you the correct disassembly sequence, torque specifications, seal part numbers, and bearing fitment details. Working without it is how parts get installed backward or critical steps get skipped.
Set up a clean workspace. Final drive internals are precision machined components. Dirt, sand, or grit introduced during the rebuild will destroy new seals and score new bearings the moment the machine starts moving. Lay out clean rags, have parts trays ready, and keep the housing and components wiped down throughout the process.
Gather all the parts you will need before disassembly. A rebuild kit typically includes face seals, hub bearings, shaft bearings, and o-rings for the brake piston and housing junctions. Having everything on hand before you open the housing eliminates delays and reduces the risk of contamination from a half assembled unit sitting exposed.
Disassembly Tips
Take photographs at every stage of disassembly. The planetary gear set has a specific assembly order, and planet gears, sun gears, carriers, and snap rings all need to go back exactly where they came from.
Label and organize everything. Use numbered bags or marked trays to keep components from each stage separated. Mixing parts between planetary stages during a final drive rebuild leads to improper gear mesh and premature failure.
Remove snap rings carefully. Many internal components are held by snap rings hidden behind seals. Forcing parts without recognizing a snap ring damages the groove and the component.
Inspect every component as it comes out. Look for scoring on gear teeth, pitting on bearing races, and discoloration from overheating. This inspection determines which parts you replace and which can be reused.
Replacing Seals and Bearings
Seals and bearings are the core of any final drive rebuild. Replace all of them, not just the ones that look worn. If the drive is apart, installing every fresh seal and bearing from the kit protects you from tearing it down again because you reused a component that was close to its limit.
Face seals require special attention. The precision ground metal faces must be spotlessly clean before installation. Any fingerprint, debris, or scratch on the sealing surfaces creates a leak path. Handle the metal rings by their edges only, clean them with a lint free cloth, and apply a thin film of clean oil before pressing the halves together.
Press new bearings into place using the correct tools. A hydraulic press gives controlled, even force. Hammering bearings into position risks cocking them in the bore, which leads to uneven load distribution and early failure. Always press against the outer race when installing into a housing and against the inner race when installing onto a shaft.
Lubricate all o-rings with clean oil or assembly grease before installation. Dry o-rings can twist or nick as they slide into grooves, creating leak paths that defeat the purpose of the final drive rebuild. Knowing the basics of hydraulic cylinders and sealed systems helps reinforce why proper seal installation matters everywhere on the machine.
Reassembly Best Practices
Reassemble in the reverse order of disassembly, following your photos and the service manual. Do not rush. Every gear, bearing, snap ring, and seal has a position and orientation that matters.
Apply a thin bead of silicone sealant where the service manual specifies, typically between the cover and the ring gear housing. Use only the type of sealant recommended by the manufacturer. Excess sealant that squeezes into the gear chamber becomes a contaminant.
Torque all bolts to specification. Under torqued bolts loosen during operation and allow oil leaks. Over torqued bolts strip threads or warp housings. Use a calibrated torque wrench for every fastener during the final drive rebuild.
Fill the housing with the correct type and quantity of gear oil after assembly. Overfilling creates pressure that damages seals. Underfilling starves gears and bearings. The service manual specifies the exact capacity and the approved oil grade.
Common Mistakes to Avoid
The most frequent final drive rebuild mistake is reusing seals that look acceptable. Seals that appear fine visually may have hardened, lost elasticity, or developed micro cracks that leak under pressure. Replace them all.
Skipping the hydraulic system flush before reinstalling the rebuilt drive is another costly error. If the original failure was caused by contamination, debris still circulating in the hydraulic lines will enter the new seals and bearings immediately. Understanding what causes drive motor failure reinforces why flushing the system is part of a complete final drive rebuild.
Installing components in the wrong orientation is a mistake that shows up as noise, vibration, or immediate failure after startup. Follow your disassembly photos and the service manual precisely.
When Professional Help Is the Better Path
A final drive rebuild requires mechanical confidence, the right tools, and patience. If you are not comfortable pressing bearings, setting face seals, or reassembling planetary gear sets, the risk of a failed rebuild outweighs the savings.
In those situations, buying a complete aftermarket final drive from Precision Final Drives and installing your drive as a bolt on replacement is faster, simpler, and backed by a warranty. A quality aftermarket unit restores full performance without the uncertainty of a field rebuild, making it the practical choice when a final drive rebuild is beyond your comfort level.
Frequently Asked Questions (FAQs)
1. How Long Does a Final Drive Rebuild Take?
A final drive rebuild typically takes several hours for an experienced technician working in a shop environment. First time rebuilds may take a full day or more. Having all parts, tools, and the service manual ready before starting reduces the timeline significantly.
2. What Parts Are Included in a Rebuild Kit?
A standard rebuild kit includes face seals, hub bearings, shaft bearings, and an assortment of o-rings for the brake piston and housing junctions. Some kits also include thrust washers and snap rings depending on the machine model.
3. Can I Rebuild a Final Drive in the Field?
It is possible but not recommended. Field conditions introduce contamination that compromises new seals and bearings. A clean shop environment with a press and proper tools produces a much more reliable final drive rebuild.
4. How Do I Know if My Final Drive Needs a Rebuild or Replacement?
Check the gear oil. If it is discolored but free of heavy metal particles and the gears look intact, a rebuild is likely sufficient. If the oil contains metallic sludge or the gears are damaged, a complete replacement is the better path.
5. How Long Does a Rebuilt Final Drive Last?
A properly executed final drive rebuild can restore the unit to near original service life, often several thousand hours. Longevity depends on using quality parts, precise assembly, clean gear oil, and consistent maintenance after the rebuild.